Here is a tutorial on how to create a spherical collage in Photoshop. The first step is to create a new document as a template, and then show the grid to help us creating rectangle shape easier, and then create shapes using the rectangle tool. The last step is to copy your photos right on top of the rectangle layer then create a clipping mask. Merge all layers and the last step is apply spherize filter. All photos used here were taken from Pixabay.com. Let's get started:
1. Create New Document
Choose File> New to create a new document.
2. Create a Grid Box
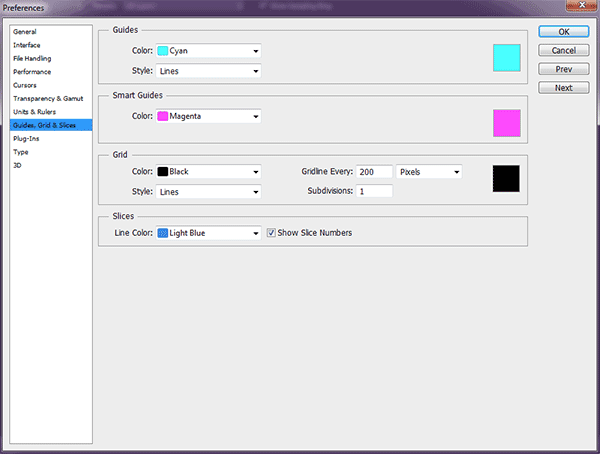
Create a grid box for lines guide in making shape. Choose Edit> Preferences> Guides, Grid & Slices. If the grid box is not visible, choose View> Show> Grid.
3. Choose the Rectangle Tool
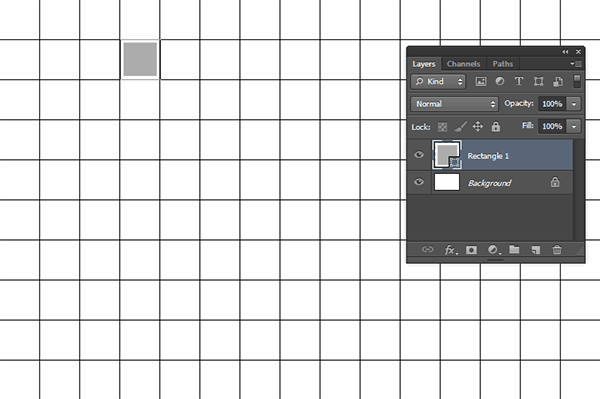
Click the rectangle tool icon on the toolbar. At the option bar, select Shape, select the Fill color and size of the stroke.
4. Create Shapes on document
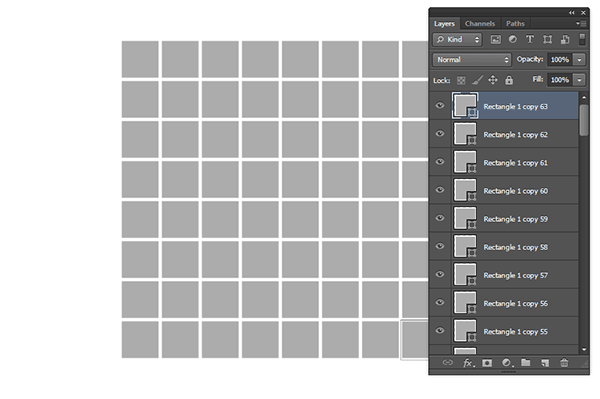
Now please click and drag to create the shape. For every shape created in document, Photoshop will automatically create the shape layer. After you finish creating all shapes, you can hide the grid by choosing View> Show> Grid.
5. Group All Layer
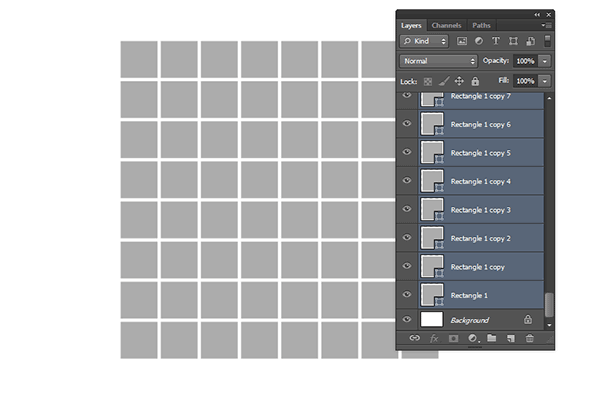
Highlight all shape layer then select Layer> Group Layer.
6. Begin Placing photo into document
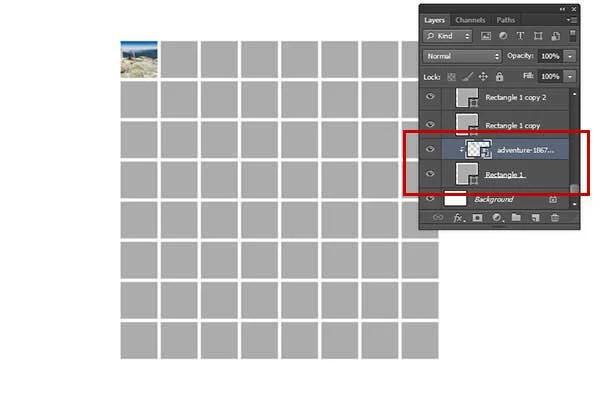
Begin placing photos into document to create your collage. Click Rectangle layer 1, then choose File> Place, select your photo and then click the Place button. Please adjust its size and position by clicking and draging the mouse.
7. Create Clipping Mask
Click photo layer and then choose Layer> Create Clipping Mask.
8. Put Another Photos
Repeat steps 6 and 7 to place all of your photos into document.
9. Merge layer
Duplicate layer group by choosing Layer>Duplicate Group. Highlight the duplicate group layer then choose Layer> Merge Group.
10. Create a Circle Selection
Click the elliptical marquee tool and then create a circle selection.
11. Apply Spherize Filter
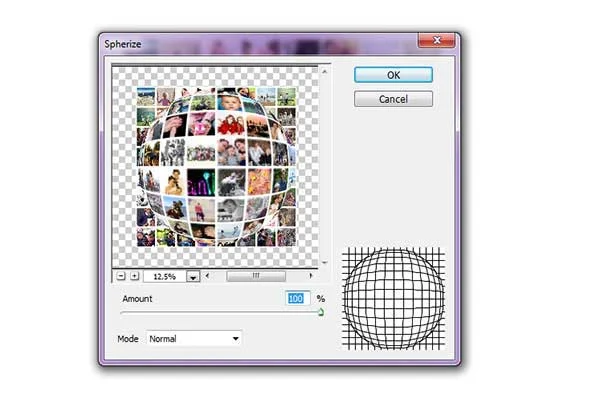
Select Filter> Distort>Spherize. Choose 100% for Amount and Normal mode.
12. Remove the area outside the circle
Choose Select>Inverse then choose Edit>clear to remove area outside the circle. Remove selection by choosing Select> Deselect.
13. Duplicate Layer To Create a Reflection
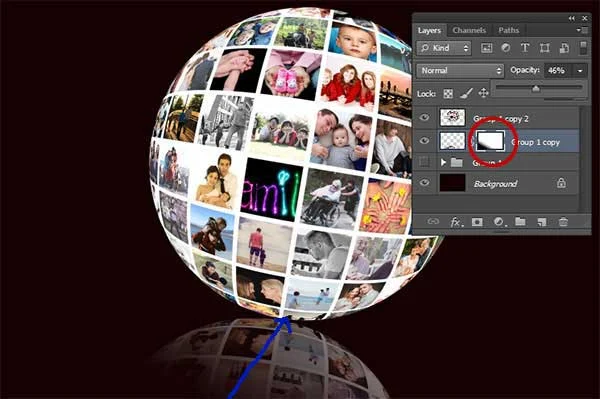
Select Layer>Duplicate layer. Drag the duplicate layer down and then flip vertically by selecting Edit>Transform>Flip Vertical.
14. Add a Layer Mask
Select Layer>Layer Mask>Reveal All.
15. Create reflection
Click the Gradient tool. Then choose Black to White color. Drag on layer mask to create reflection effect.
Here is the result:
How to create a spherical collage in Photoshop.








No comments:
Post a Comment