

Showing posts with label GIMP. Show all posts
Showing posts with label GIMP. Show all posts
26 November 2022
Photo Collage In GIMP (+ Free Online Tool)
18 May 2022
Add a Graphic Watermark to Photo in GIMP (+ Free Online Tool)
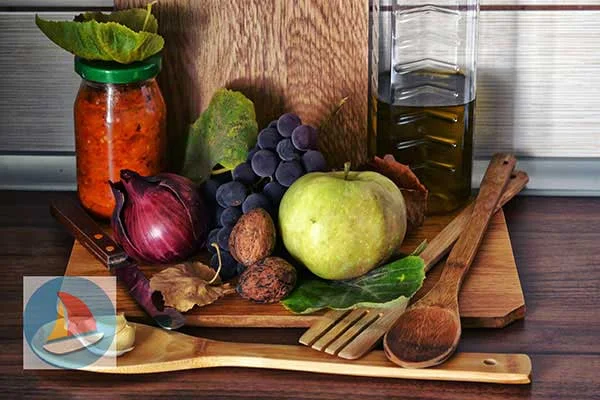
If you post your photos online, adding a text watermark or a graphic watermark on the photos is a common way to protect your photos from being misuse by other people in the internet. You can easily add a text or graphic watermark to photos using free picture editing application, such as GIMP. The trick is to open an image/logo on photo using open as layer. Then adjust its position and size. Finally, reduce the opacity of the logo by dragging the opacity slider to the left to give a semi-transparent effect. Let's get started:
17 May 2022
How To Sharpen photo With GIMP (+ Free Online Tool)

GIMP Filter Filters> Enhance> Unsharp mask is suitable for images that have a lot of noise or grain. We can set the value Radius, and Threshold Amount to obtain sharpness of the image that we want. Should apply unsharp mask filter to the duplicate layer, so that we can restore the original image if the results are not satisfactory. Previously, doing optimization on the images first such set image size and croping. Provide unsharp mask filter is the last step. Photos are used for this GIMP tutorial is taken from the website Pixabay.com. Follow the steps below to sharpen image with unsharp mask GIMP.
How To Put An Image Inside Text in GIMP (+ Free Online Tool)

Subscribe to:
Posts (Atom)