If you post your photos online, adding a text watermark or a graphic watermark on the photos is a common way to protect your photos from being misuse by other people in the internet. You can easily add a text or graphic watermark to photos using free picture editing application, such as GIMP. The trick is to open an image/logo on photo using open as layer. Then adjust its position and size. Finally, reduce the opacity of the logo by dragging the opacity slider to the left to give a semi-transparent effect. Let's get started:
Stock food-1475223.
1. Open Your Photo
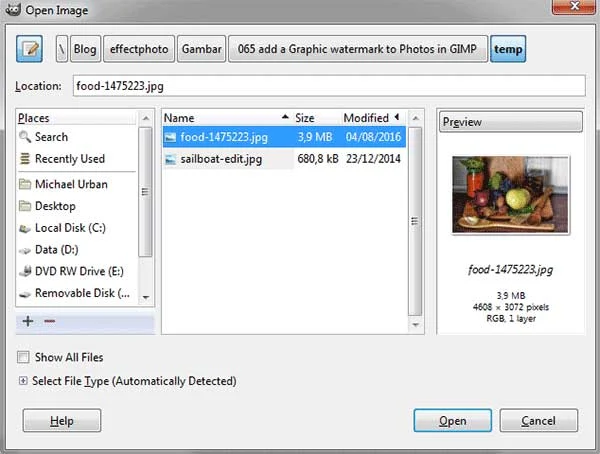
Choose File> Open, locate your photo folder, click on your photo and then click the Open button.
2. Add Graphic to Your Photo
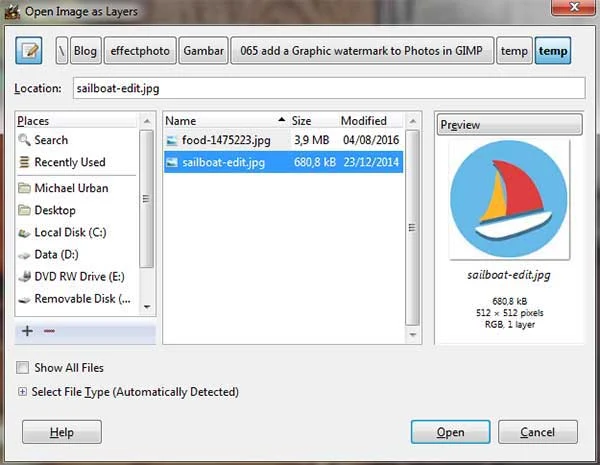
Go to File>Open as layers and then navigate to the grahic you want to use to create a watermark.
3. Adjust its position Using the Move Tool
Click the Move tool icon or select menu Tools> Transform Tools> Move. Click on your graphic image then drag to the position you wanted.
4. Adjust Graphic Size Using the Scale Tool
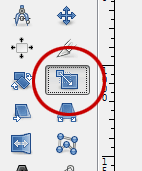
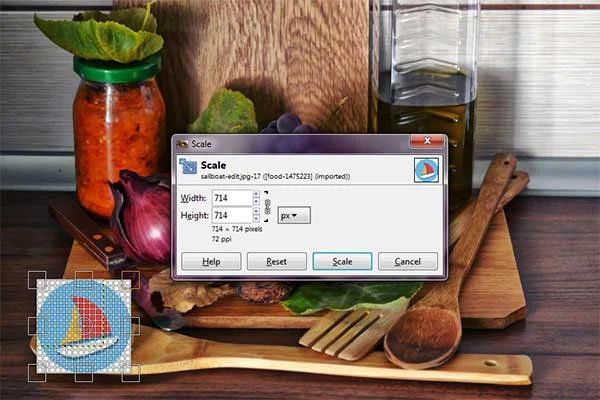
Click the Scale tool icon or by selecting the menu Tools> Transform Tools> Scale. Click on your graphic watermark. Please fill widht and Height then click the Scale button.
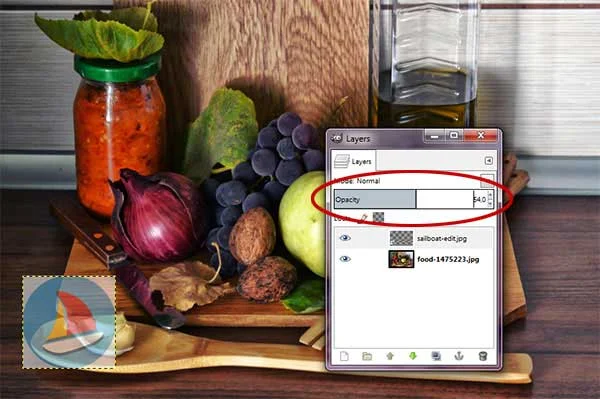
5. Adjust Graphic Opacity
Please drag the layer opacity slider to the left so that the graphic watermark looks a little bit transparent.
Here is the result:
Add a Graphic Watermark to Photos in GIMP.




No comments:
Post a Comment